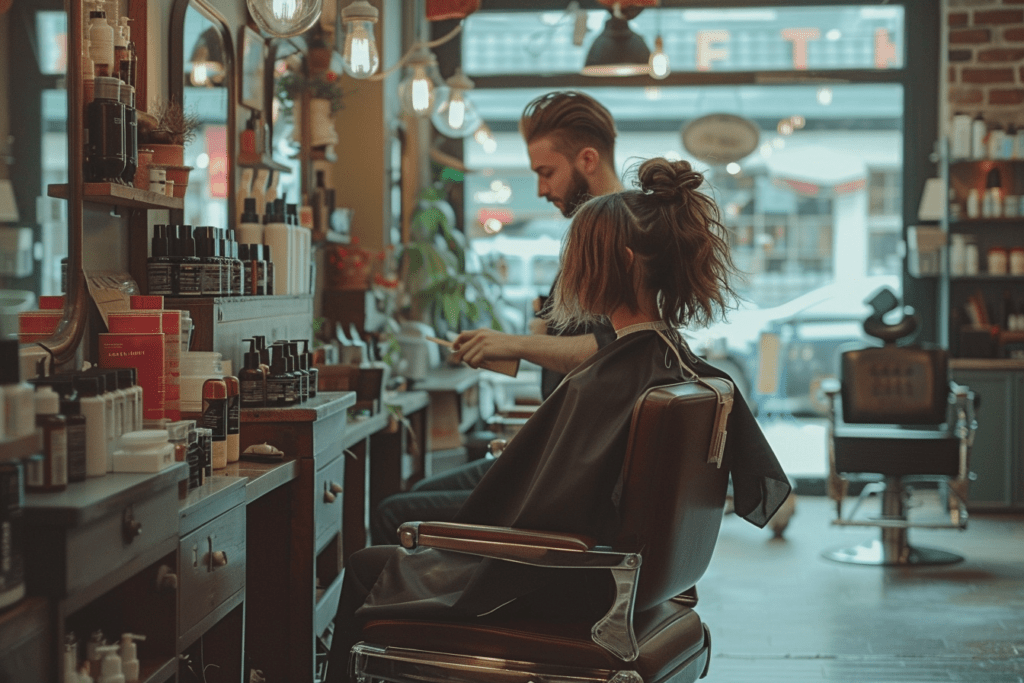
By straightening your hair at home, one can avoid the need for salon visits, which can be costly as well as inconvenient.
In the comfort of your home with the right tools and techniques you can get smooth and shiny hair.
The different methods of hair straightening will be explained in this article and some tips on how to do it safely and effectively. Let’s go!
Types of Hair Straightening
1. Flat Iron Straightening
Description: This involves using a flat iron or a pair of hair straighteners to make the hair smoother. It is generally a direct approach and can also be performed at home through repetition.
How to do it: Ensure that your hair is dry; apply heat protectant before dragging slowly the iron along small sections from roots to ends.
RELATED: 21 Trendy Razor Cut Hairstyles You Can Easily Rock
2. Chemical Straightening (Relaxing)
Description: Applying chemicals on the hair follicles break down their bonds thereby making them permanently straightened out chemically such a method is particularly effective against very curly or frizzy strands.
Consideration: Due to chemicals’ harshness, professionals typically carry out this procedure in order not to cause any damage.
3. Keratin Treatment
Definition: First, a solution made of Keratin is applied onto one’s hair and then sealed in with a straightener. This process makes the hair soft and shiny.
Description: The treatment smoothens out frizz and adds shine to the hair.
How to do it: Though it works best in salons, there are kits that can be used at home for this purpose. Pay close attention to instructions set out in the kit so as not to overuse or cause any harm when heating.

4. Japanese Hair Straightening
Description: A permanent treatment which alters your hair structure for lasting straightness.
Implication: Most people find this technique too hard to handle on their own unless they are already used to styling their hairs at home hence have special kits for this purpose.
RELATED: 20 Trendy Party Hairstyles You Can Easily Create at Home
5. Ionic Hair Straightening
Description: The new technology employs negative ions that counteract positively charged ones from the hair thereby reducing frizz and smoothening the cuticles.
How to do it: Ions devices for straightening at homes work just like flat irons but are generally milder on ones’ tresses.
How to gain permanently straight hair in the house
Getting straight hair that lasts forever is a long way through and full of details at home, but with correct approach and precautions it is possible. Here are steps on how to get your hair straightened permanently while in your house:
Step 1: Use Clarifying Shampoo
Objective: To ensure that your hair is absolutely clean without any residues so that the products for straightening can be applied more effectively.
Process: Wash your hair using clarifying shampoo to remove all dirt, grease and product build up. Even if you had washed your hair some minutes past, make sure you shampoo it again just before the treatment just to assure cleanliness of your hair.
Step 2: Apply Retexturizing Cream
Purpose: This cream will change chemically how your hair is structured by dismantling and reassembling keratin bonds. The process makes the softens and permanently straightens the hairs.
Preparation: Dampen the dry towel into it leaving it damp not dripping wet.
RELATED: 28 Adorable Wavy Pixie Cuts That Are Currently Trending
Application: Divide your dampened hair into small parts. Run a comb throughout each section so as to disperse evenly.
Ensure every strand is lightly coated with retexturing cream without applying too close to the head skin so as not to cause irritation or burns on scalp.
Waiting Period; Put all sections on top of your head then cover them with shower cap. Leave cream onto the air for about 45-60 minutes depending on product instructions as well as type of hairs you have.
Rinsing; After exposure time has elapsed, thoroughly rinse out cream from hair under lukewarm water because it may leave some residue which can lead to uneven results or damage.
Note:
Retexturizing creams are powerful chemicals treatments that change natural structure of your hairs. Your hairs must be handled gently during this stage so as not let them break off. It’s important always adhere strictly with the product instructions and take these precautions.
Safety Measures: Wear gloves when applying cream, and consider doing a strand test beforehand to check for any reactions.
Post-Treatment Care: After rinsing, you may want to use a deep conditioning treatment that will nourish your hair or keep it moist. This helps in recovering strength and elasticity of it.

Step 3: Blow Dry and Straighten Your Hair
Purpose: For hair to be styled nicely and stay straight after being set this way.
Drying: Begin blow drying your hair from when it is not very wet but only about 40-50% dry. Use low heat while keeping about 15 cm distance between dryer and your hair so as not to cause damage by heat. Prior to using blow dryers, one should let the hair dry out naturally until it reaches around 65-70%.
This is because salon damp hair is more porous prone to damage especially if appropriate measures are not taken.
Straightening: When fully dried up part your hair into sections then straighten each section individually with flat iron. Ensure that you have straightened every part well enough such that there are no spots missed as this shape lasts until new hairs come out completely.
Note:
Before starting blow drying as well as flat ironing make sure you use heat protectant products so as to safeguard against heat damage on hairs always.
Step 4: Apply Neutralizer Cream
Purpose: To lock keratin bonds thus ensuring permanent retention of the smooth structure of the hairs .
Application: Spread neutralizing cream evenly over all parts of your hair attempting at making them lay down straight .
Be careful not to leave the neutralizer on your hair for more than 10 minutes as it will over-process the hair leading to damage.
Step 5 – Rinse Your Hair
Why: All traces of the neutralizer have to be removed and your style set.
Do:
• Rinse – Rinse your hair thoroughly with warm water. Do not use shampoo during this rinse as it can disturb the newly formed bonds that are setting your hair’s straight structure.
• Dry – After rinsing, you may either air dry your hair or use a blow dryer. Blow drying can help achieve extra straightness if desired.
Your hair may seem flat and limp initially because of the straightening process, but after some weeks it should regain its natural bounce and volume.
Extra Tips For Straight Hair Using Natural Ingredients
For those who prefer natural methods or do not want any chemical treatments, there are other ways of achieving straight hair at home though they might be less permanent.

Natural Straightening Mask:
• Mix one cup of coconut milk with one tablespoon honey and lemon juice.
• Apply this mixture in your hair and let it sit for about an hour before rinsing.
• This mask helps in naturally straightening out your hair gradually when used regularly.
Hot Oil Treatments:
• Warm up natural oils such as coconut oil or olive oil, then put them on your head.
• Wrap a towel around your head and let the oil sit for at least an hour before washing it with mild shampoos.
• Regular hot oil treatments can reduce curls and waves along with soften your hair texture.
Doing these steps gives you an overall guide on how to get as well as maintain straightened locks at home through both permanent chemical treatments plus non-permanent solutions using organics. Always consider your hairs health when selecting which method is most suitable for you basing on type, state etc.

